WaaS - Whisper as a Service
GUI and API for OpenAI Whisper
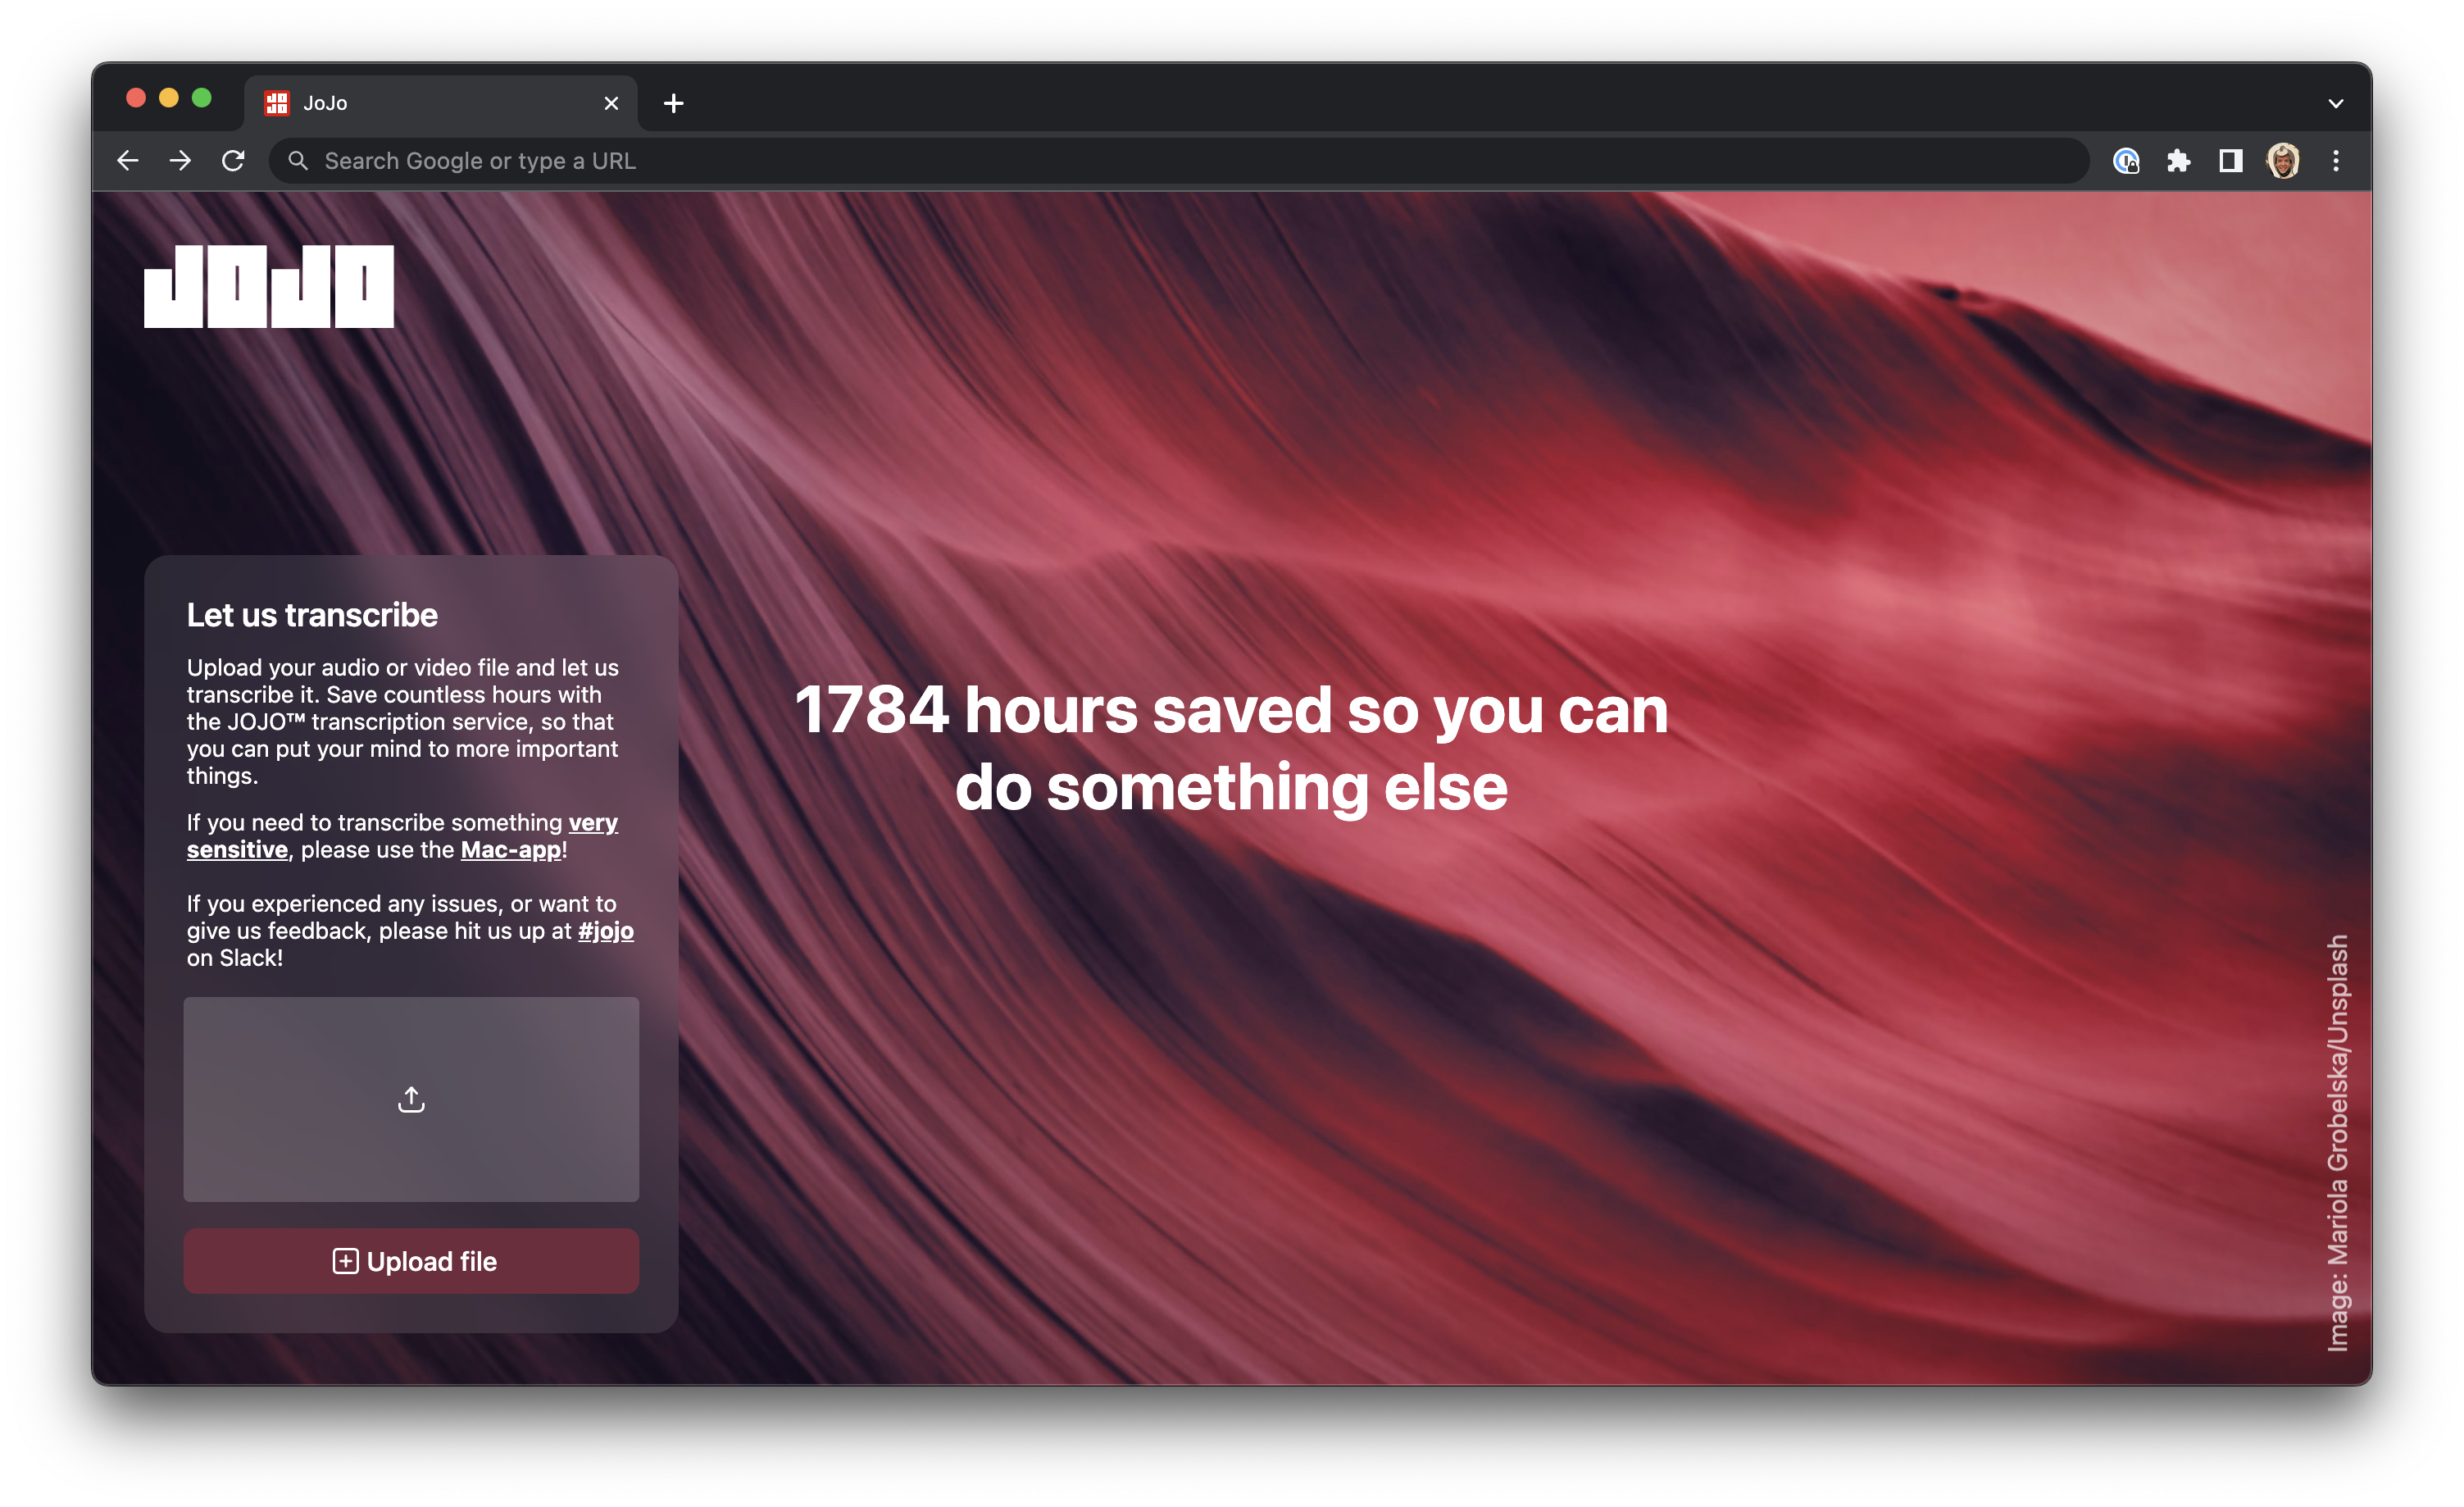 No video support
What is Jojo?
Jojo is a GUI for upload and transcribe a audio or video file. After the transcription is done you get an email with download links. You can directly download a Jojo-file, SRT, or text from the email. Then you can upload a Jojo file to the frontend to come into an editor (see video).
Editor
The editor works 100% local in your browser. Here can you listen to segments and fix transcriptions errors. After you are done just save the Jojo-file to your desktop. An easy way to play the selected segment is by holding down the Control-key on the keyboard.
This project started out by VG
API Documentation
POST /v1/transcribe
Add a new transcribe job to the queue. The job will be processed by the worker asynchroniously.
The response will be a JSON object with job_id that can be used to check the status of the job.
Query parameters:
- REQUIRED:
email_callback: string orwebhook_id: string - OPTIONAL:
language: string (default: automatic detection) - OPTIONAL:
model: string (default:tiny) - OPTIONAL:
task: string (default:transcribe)transcribe: Transcribe audio to texttranslate: Transcribe then translate audio to text
- OPTIONAL:
filename: string (default:untitled-transcription)
Body:
- REQUIRED:
binary data: Raw data with the audio content to transcribe
OPTIONS /v1/transcribe
Get the available options for the transcribe route.
POST /v1/detect
Detect the language of the audio file.
Query parameters:
- OPTIONAL:
model: string (default:tiny)
Body:
- REQUIRED:
binary data: Raw data with the audio content to detect the language for
OPTIONS /v1/detect
Get the available options for the detect route.
GET /v1/download/
Receive the finished job result as the requested output format.
Query parameters:
- OPTIONAL:
output: string (default:srt)json: JSON response of the model outputtimecode_txt: Plain text file with timecodes(srt)txt: Plain text file of the detected textvtt: WebVTT file with the detected textsrt: WebVTT file with the detected text
OPTIONS /v1/download/
Get the available options for the download route.
GET /v1/jobs/
Get the status and metadata of the provided job.
GET /v1/queue
Get the available length of the queue as JSON object with the key length.
Webhook response
If using webhook_id in the request parameters you will get a POST to the webhook url of your choice.
The request will contain a X-WAAS-Signature header with a hash that can be used to verify the content.
Check tests/test_webhook.py for an example on how to verify this signature using Python on the receiving end.
The post payload will be a json with this content
On success:
{
  "source": "waas",
  "job_id": "09d2832d-cf3e-4719-aea7-1319000ef372",
  "success": true,
  "url": "https://example.com/v1/download/09d2832d-cf3e-4719-aea7-1319000ef372",
  "filename": "untitled-transcription"
}
On failure:
{
  "source": "waas",
  "job_id": "09d2832d-cf3e-4719-aea7-1319000ef372",
  "success": false
}
Contributing
Requirements
Required amount of VRAM depends on the model used. The smallest model is tiny which requires about 1GB of VRAM.
You can see the full list of models here with information about the required VRAM.
The codebase is expected to be compatible with Python 3.8-3.10. This would be the same as the OpenAI Whisper requirements.
Installation
python3 -mvenv .venv
source .venv/bin/activate
pip install -r requirements.txt
Running full setup using docker-compose
First create a .envrc file with the following content:
export BASE_URL=https://example.com
export EMAIL_SENDER_ADDRESS=example@example.com
export EMAIL_SENDER_PASSWORD=example
export EMAIL_SENDER_HOST=smtp.example.com

export DISCLAIMER='This is a [disclaimer](example.com)'

export ALLOWED_WEBHOOKS_FILE='allowed_webhooks.json'
export LOG_EMAIL=true // Optional, log email content to console
Add a json file named allowed_webhooks.json to the root folder of the project. This file is ignored by git.
The content should be a list of valid webhooks, urls and your generated tokens like this:
[
  {
    "id": "77c500b2-0e0f-4785-afc7-f94ed529c897",
    "url": "https://myniceserver.com/mywebhook",
    "token": "frKPI6p5LxxpJa8tCvVr=u5NvU66EJCQdybPuEmzKNeyCDul2-zrOx05?LwIhL5N"
  }
]
For testing you could use the https://webhook.site service (as long as you do not post/transcribe private data)
And set the env variable ALLOWED_WEBHOOKS_FILE=allowed_webhooks.json
Then run the following command
docker-compose --env-file .envrc up
This will start three docker containers.
- redis
- api running flask fra src
- worker running rq from src
Using NVIDIA CUDA with docker-compose
If you have a NVIDIA GPU and want to use it with docker-compose, you need to install nvidia-docker.
To enable CUDA support, you need to edit the docker-compose.yml file to use the nvidia runtime:
build:
  context: .
  # use Dockerfile.gpu when using a NVIDIA GPU
  dockerfile: Dockerfile.gpu
You also have to uncomment the device reservation in the docker-compose.yml file:
deploy:
  resources:
    reservations:
      devices:
        - driver: nvidia
          capabilities: [gpu]
Then run the following command as usual:
docker-compose --env-file .envrc up
The worker will now use the GPU acceleration.
Running full setup using devcontainers
Install remote-development extensions (containers)
And then in vscode do Devcontainers: open folder in container
Then you are inside the api-container and can do stuff
curl
To upload a file called audunspodssounds.mp3 in norwegian from your download directory
With email callback:
curl --location --request POST 'localhost:3000/v1/transcribe?output=vtt&email_callback=test@localhost&language=norwegian&model=large' \
  --header 'Content-Type: audio/mpeg' \
  --data-binary '@/Users//Downloads/audunspodssounds.mp3'
With webhook callback:
curl --location --request POST 'localhost:3000/v1/transcribe?output=vtt&language=norwegian&model=large&webhook_callback_url=https://myniceserver.something/mywebhookid' \
  --header 'Content-Type: audio/mpeg' \
  --data-binary '@/Users//Downloads/audunspodssounds.mp3'
Running tests
$ pytest
🥳 Contributing
FAQ
How to fix [SSL: CERTIFICATE_VERIFY_FAILED] certificate verify failed: unable to get local issuer certificate?
$ /Applications/Python\ 3.7/Install\ Certificates.command
How to run tests outside the docker container?
Make sure you have fired up the Redis using docker-compose and then use:
ENVIRONMENT=test BASE_URL=http://localhost REDIS_URL=redis://localhost:6379 pytest -v