Proper Pixel Art


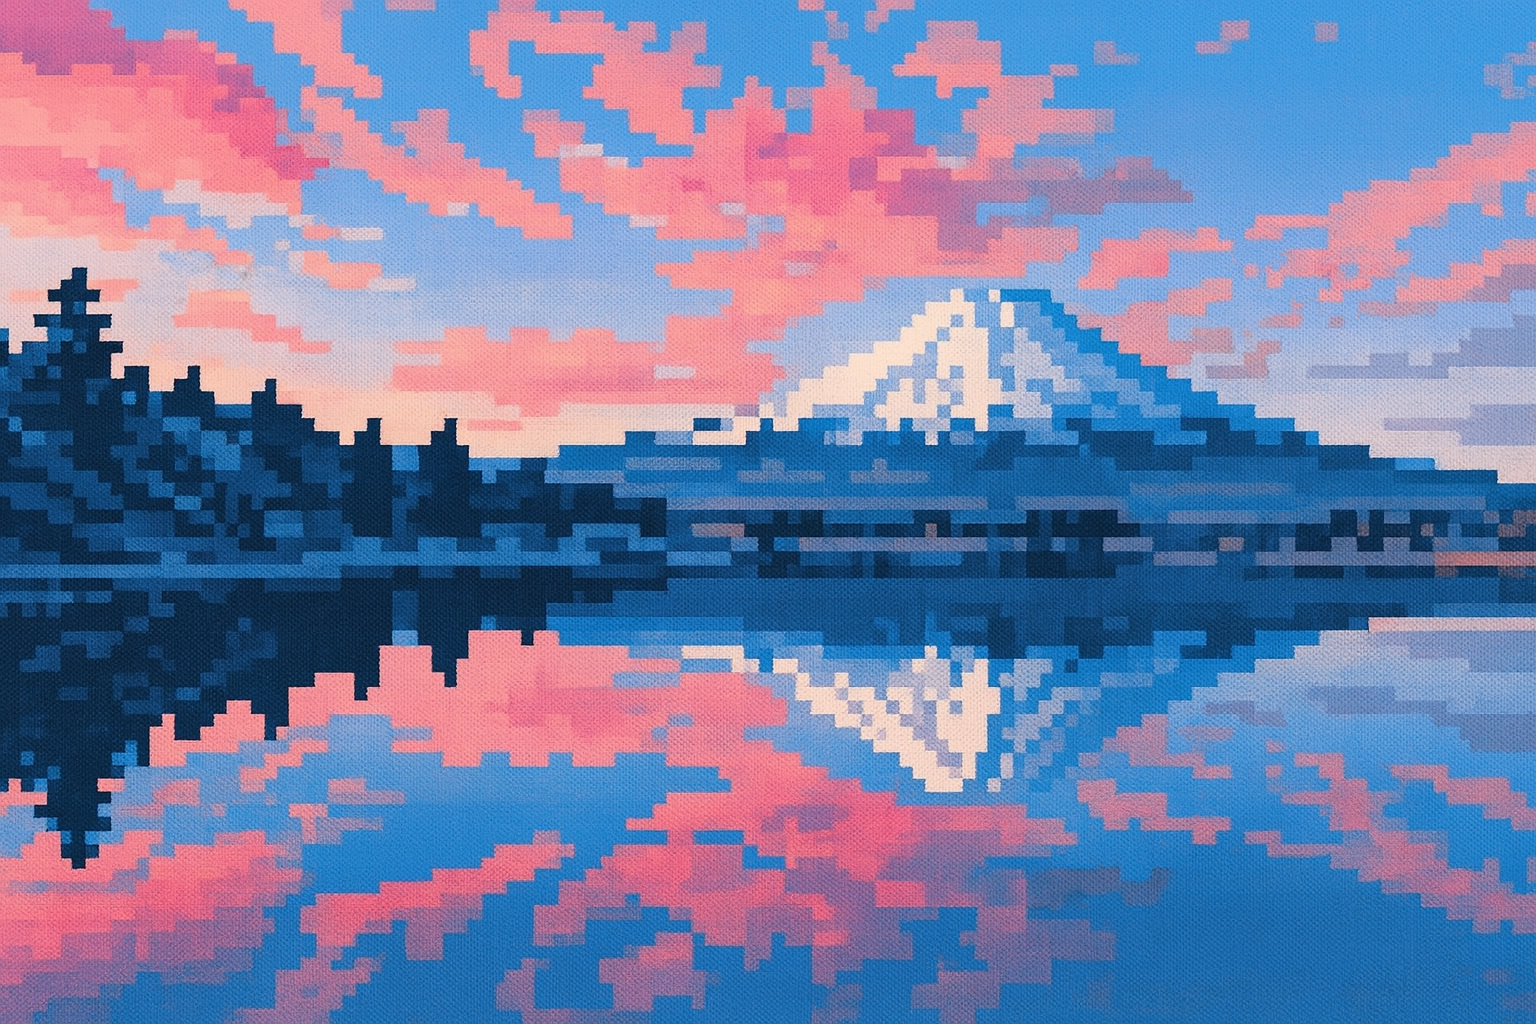
Noisy, high resolution
→
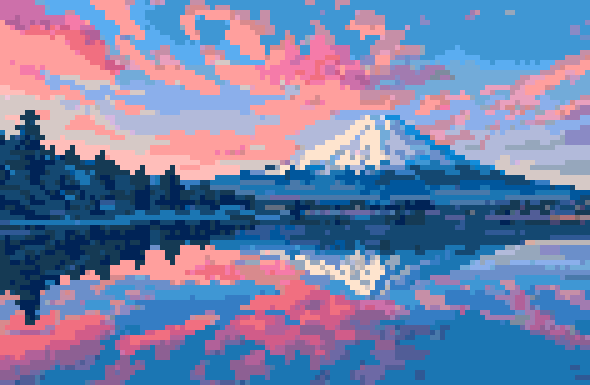
Clean, true-resolution pixel art
Summary
Converts noisy, high-resolution pixel-art-style images (from generative models or low-quality web uploads) into clean, true-resolution assets. Such images often have a non-uniform grid and random artifacts, so standard downsampling fails — the usual alternatives are naive downscaling or redrawing the asset pixel by pixel. This tool automates the recovery instead. Videos and GIFs are supported too.
Contents
Examples
The algorithm is robust. It performs well for images that are already approximately aligned to a grid.
Here are a few examples. A mesh is computed, where each cell corresponds to one pixel.
Bat
-
Generated by GPT-4o.
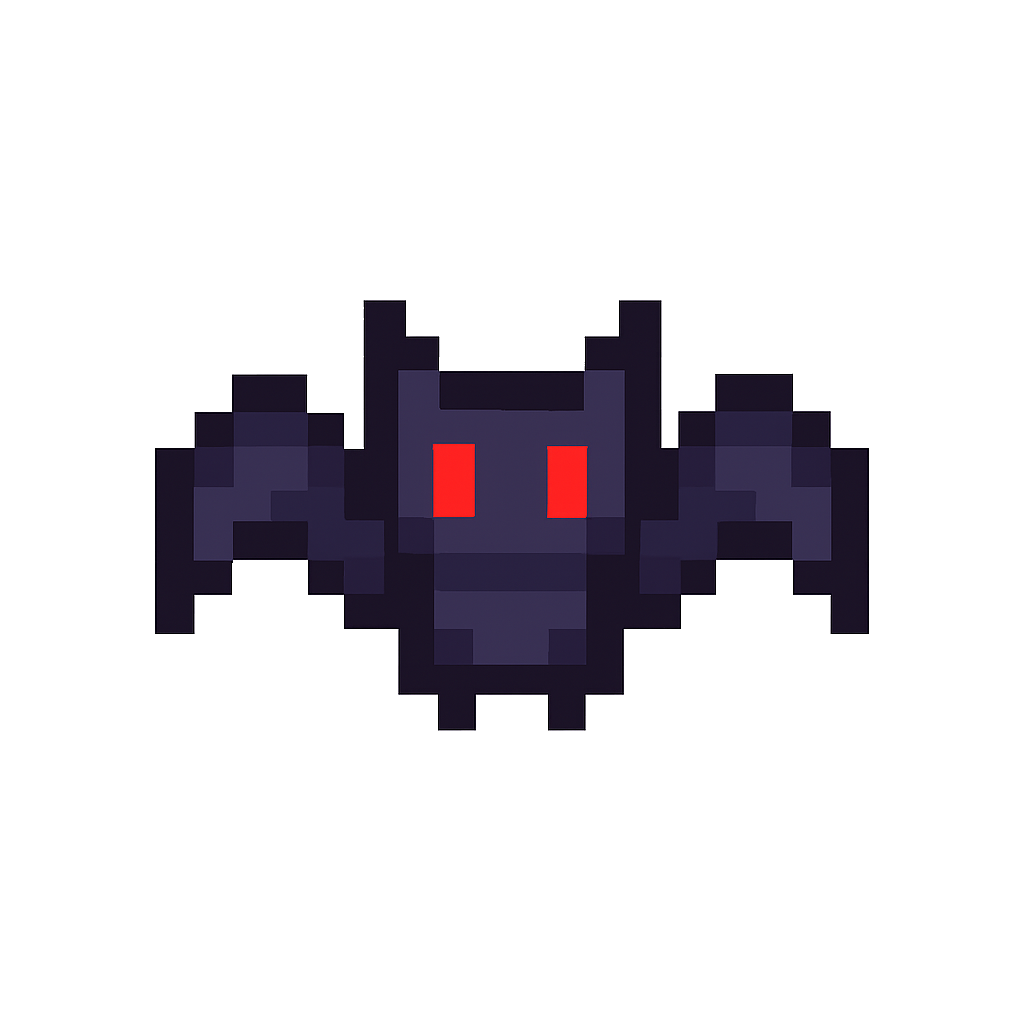
Noisy, High Resolution
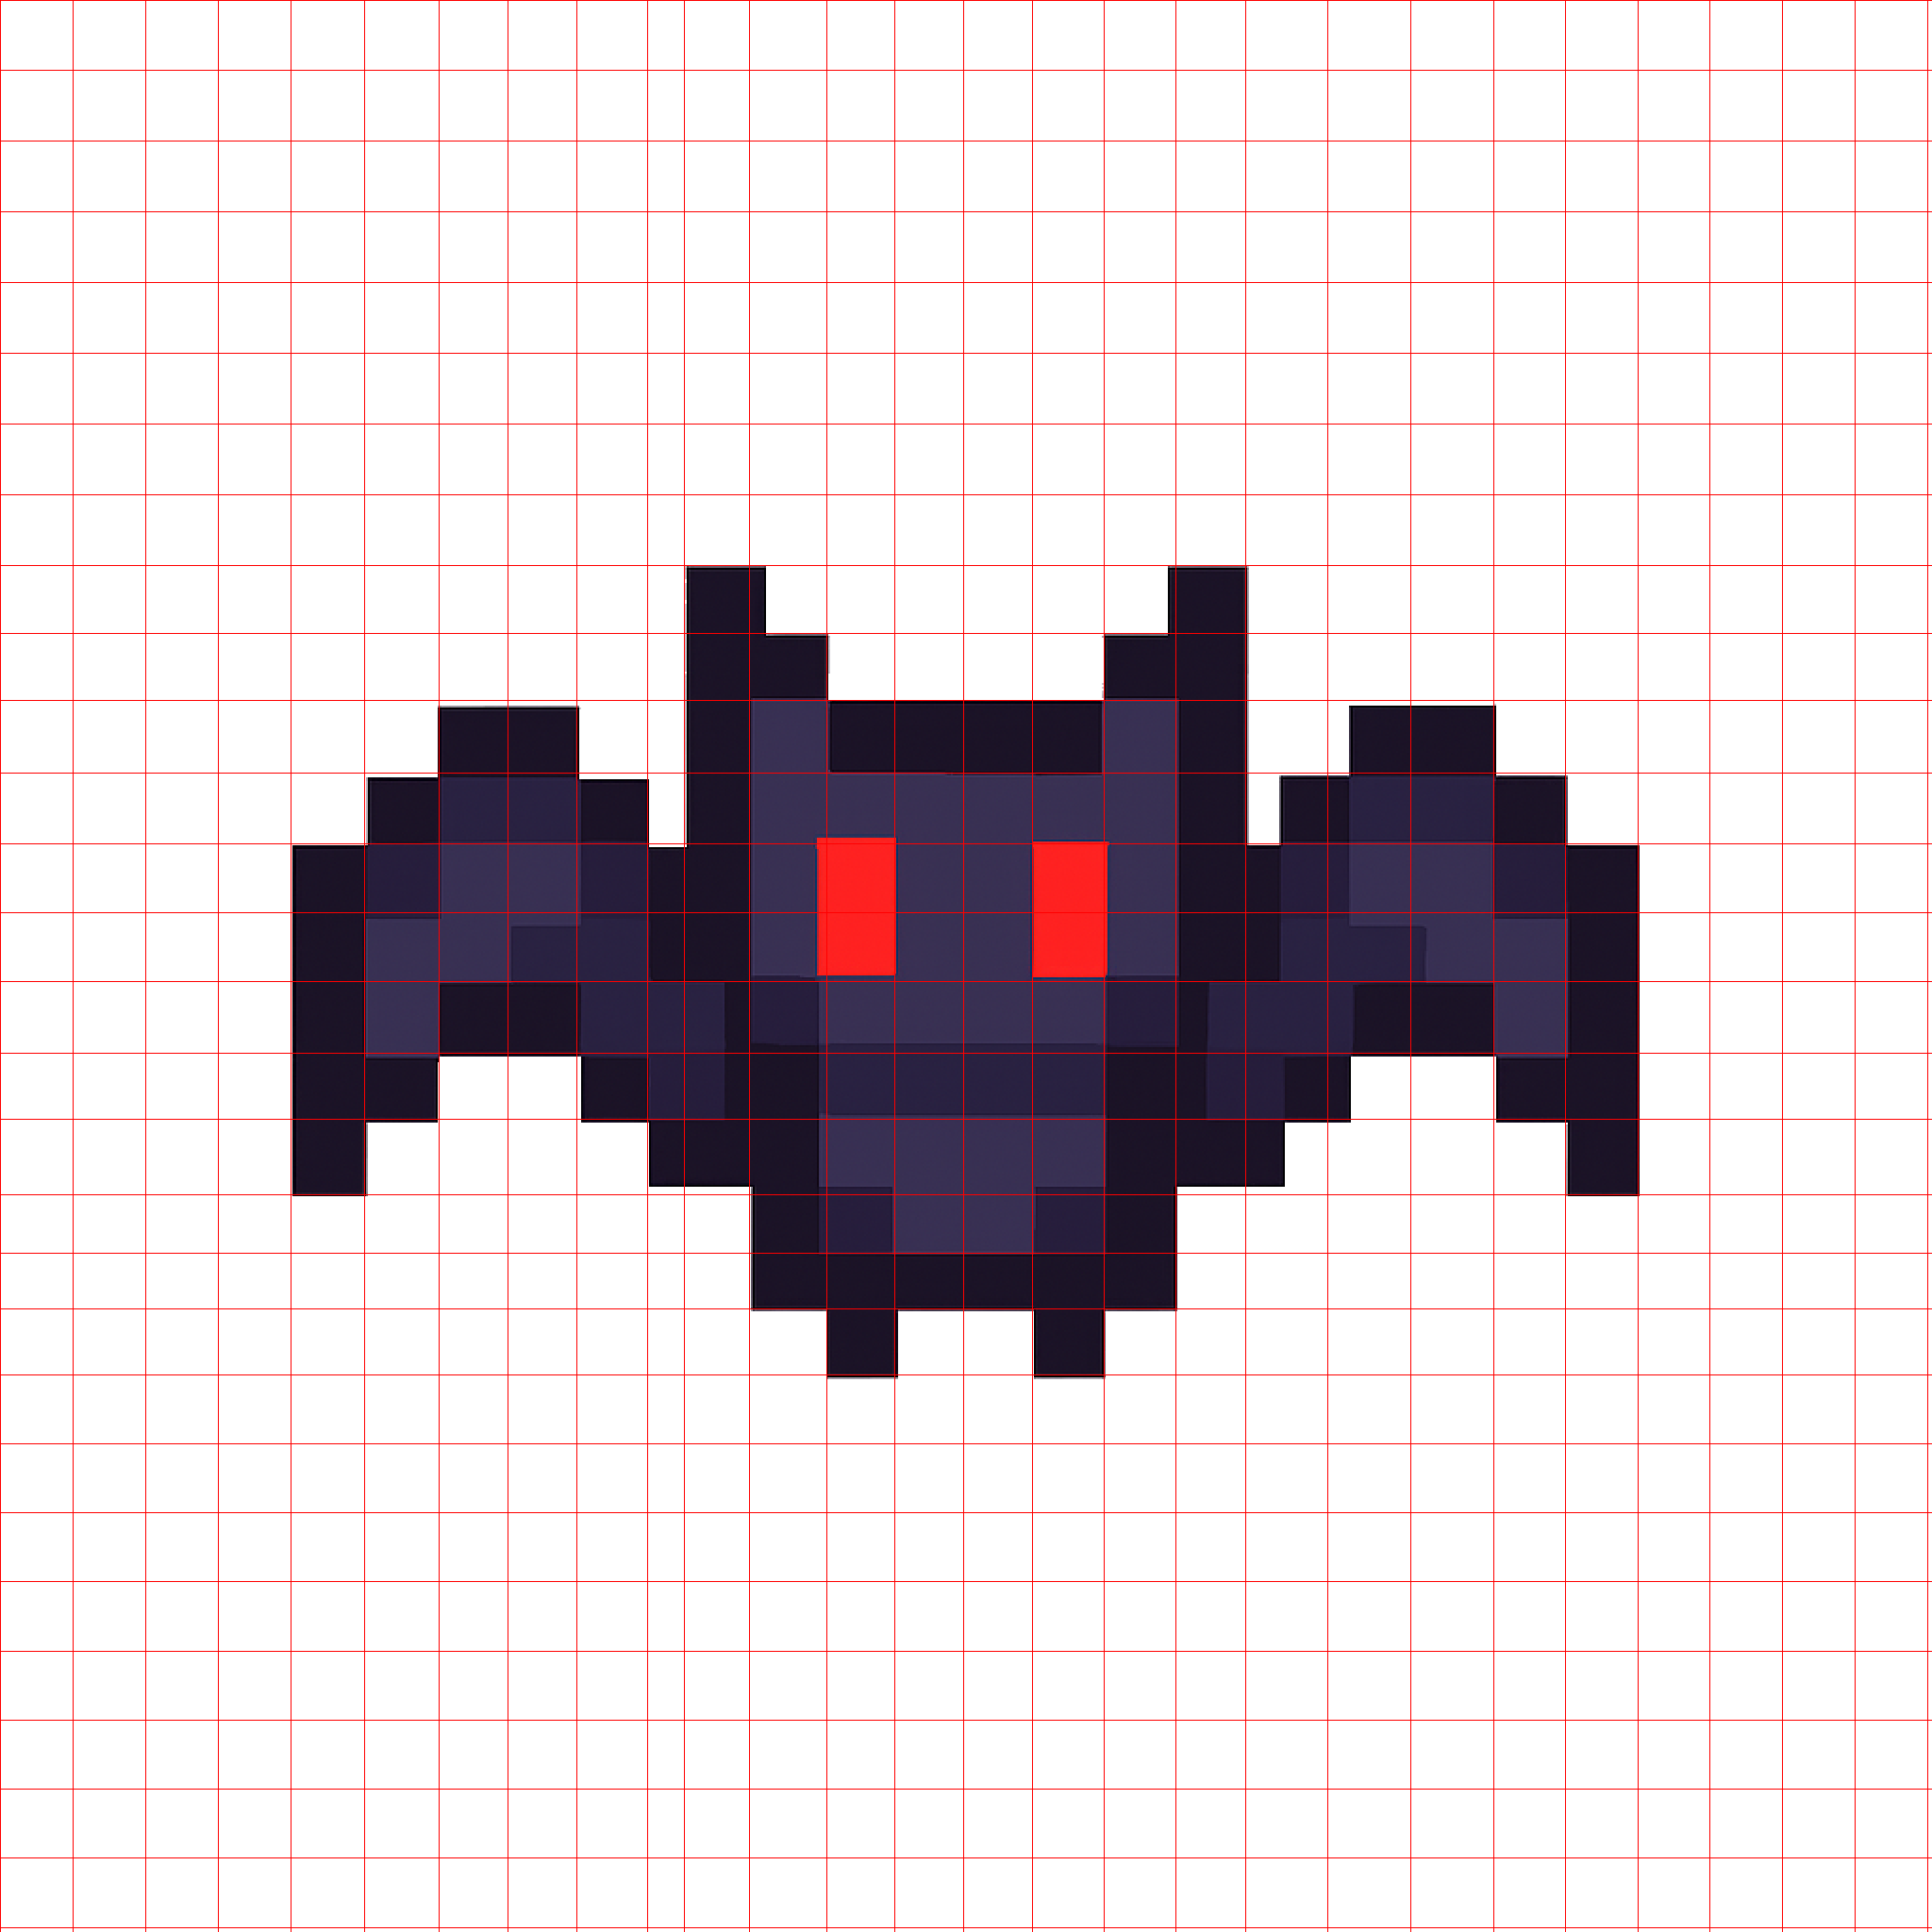
Mesh
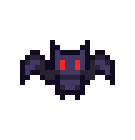
True Pixel Resolution
Ash
-
Screenshot from Google images of Pokemon asset.
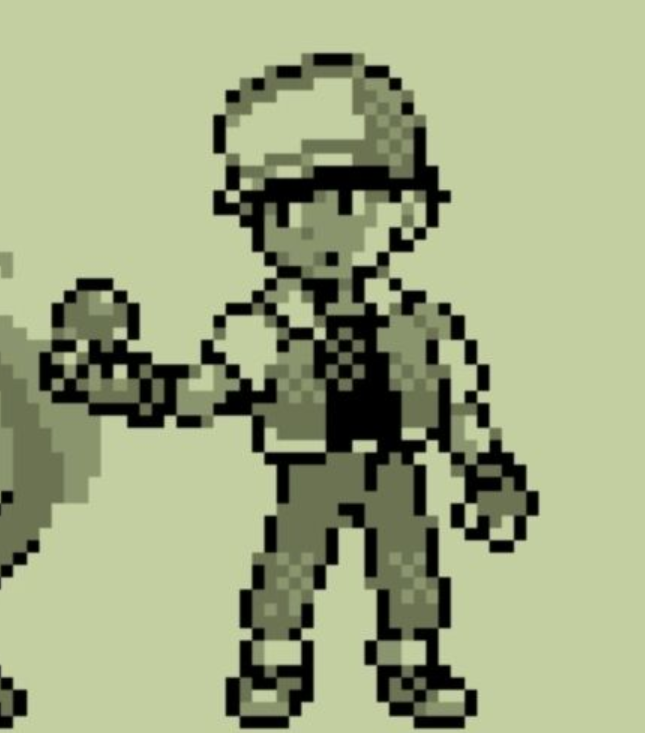
Noisy, High Resolution
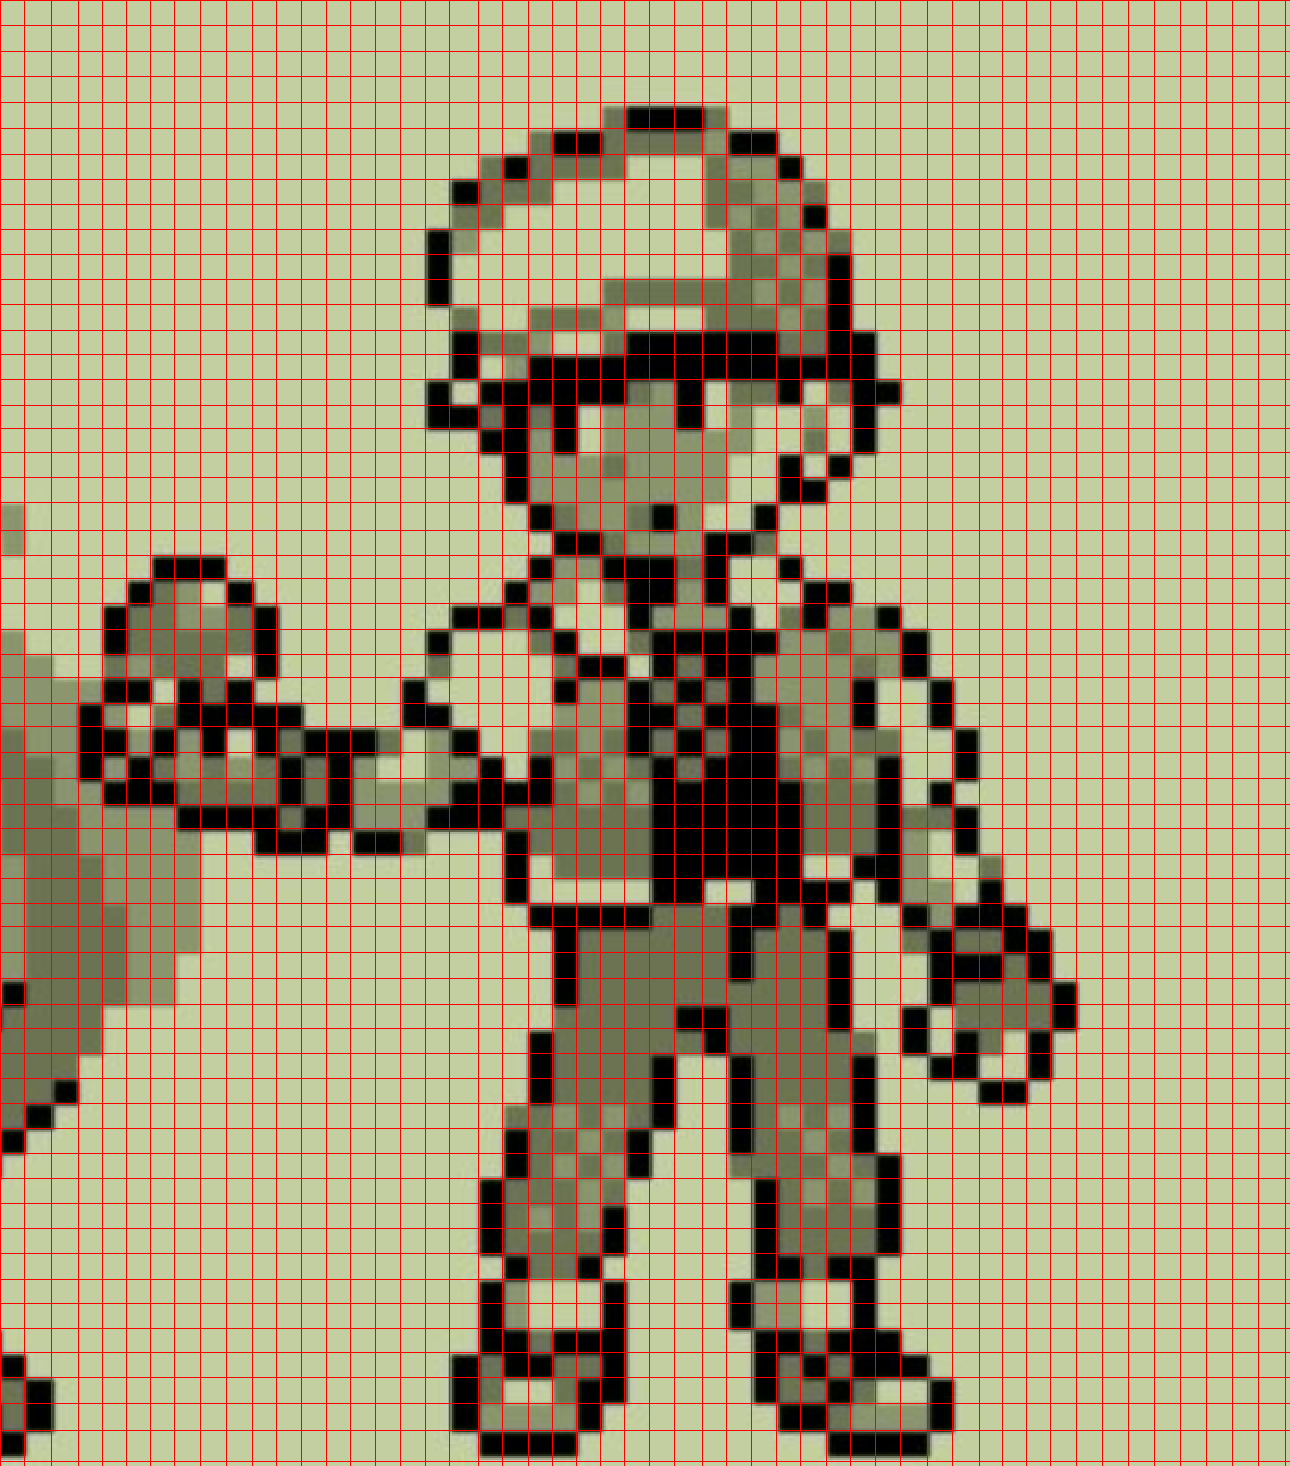
Mesh
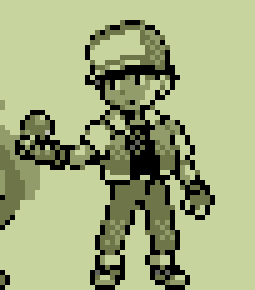
True Pixel Resolution
Demon
-
Original image generated by GPT-4o.
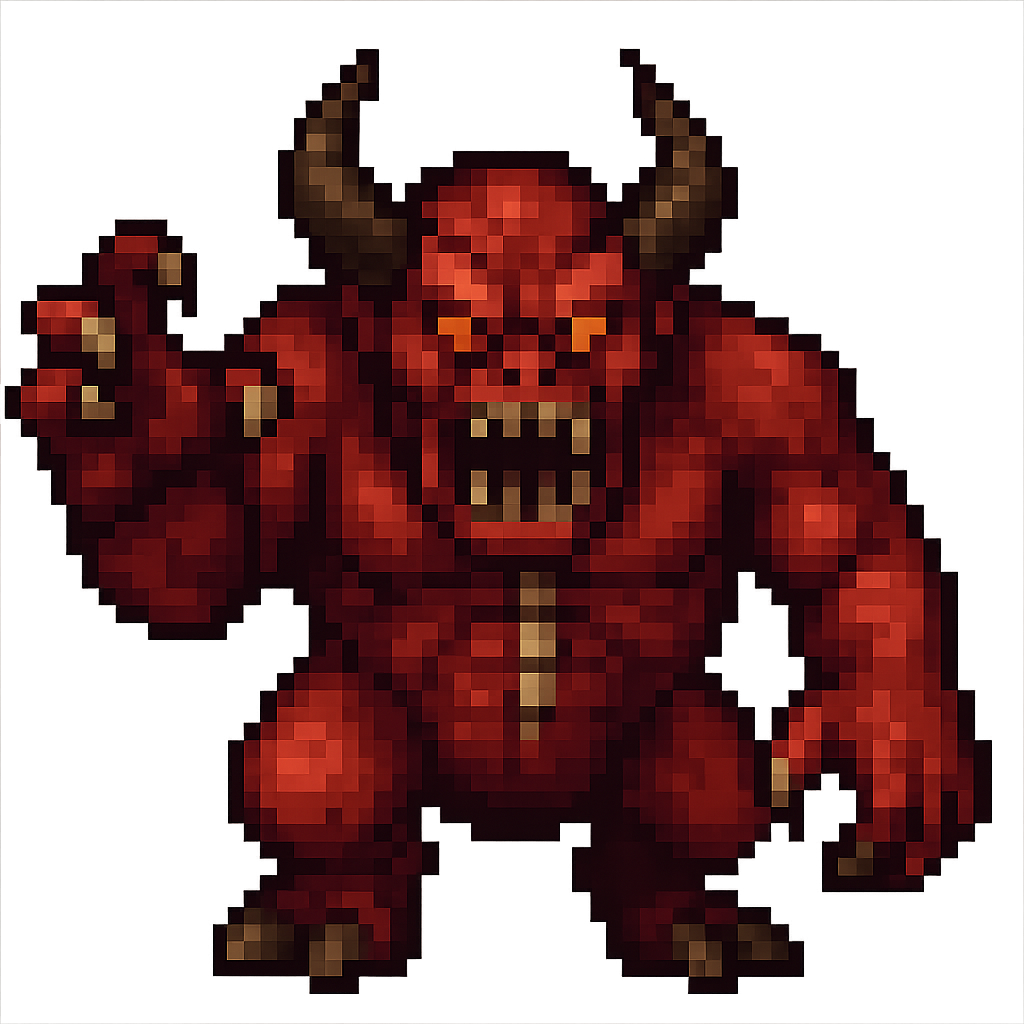
Noisy, High Resolution
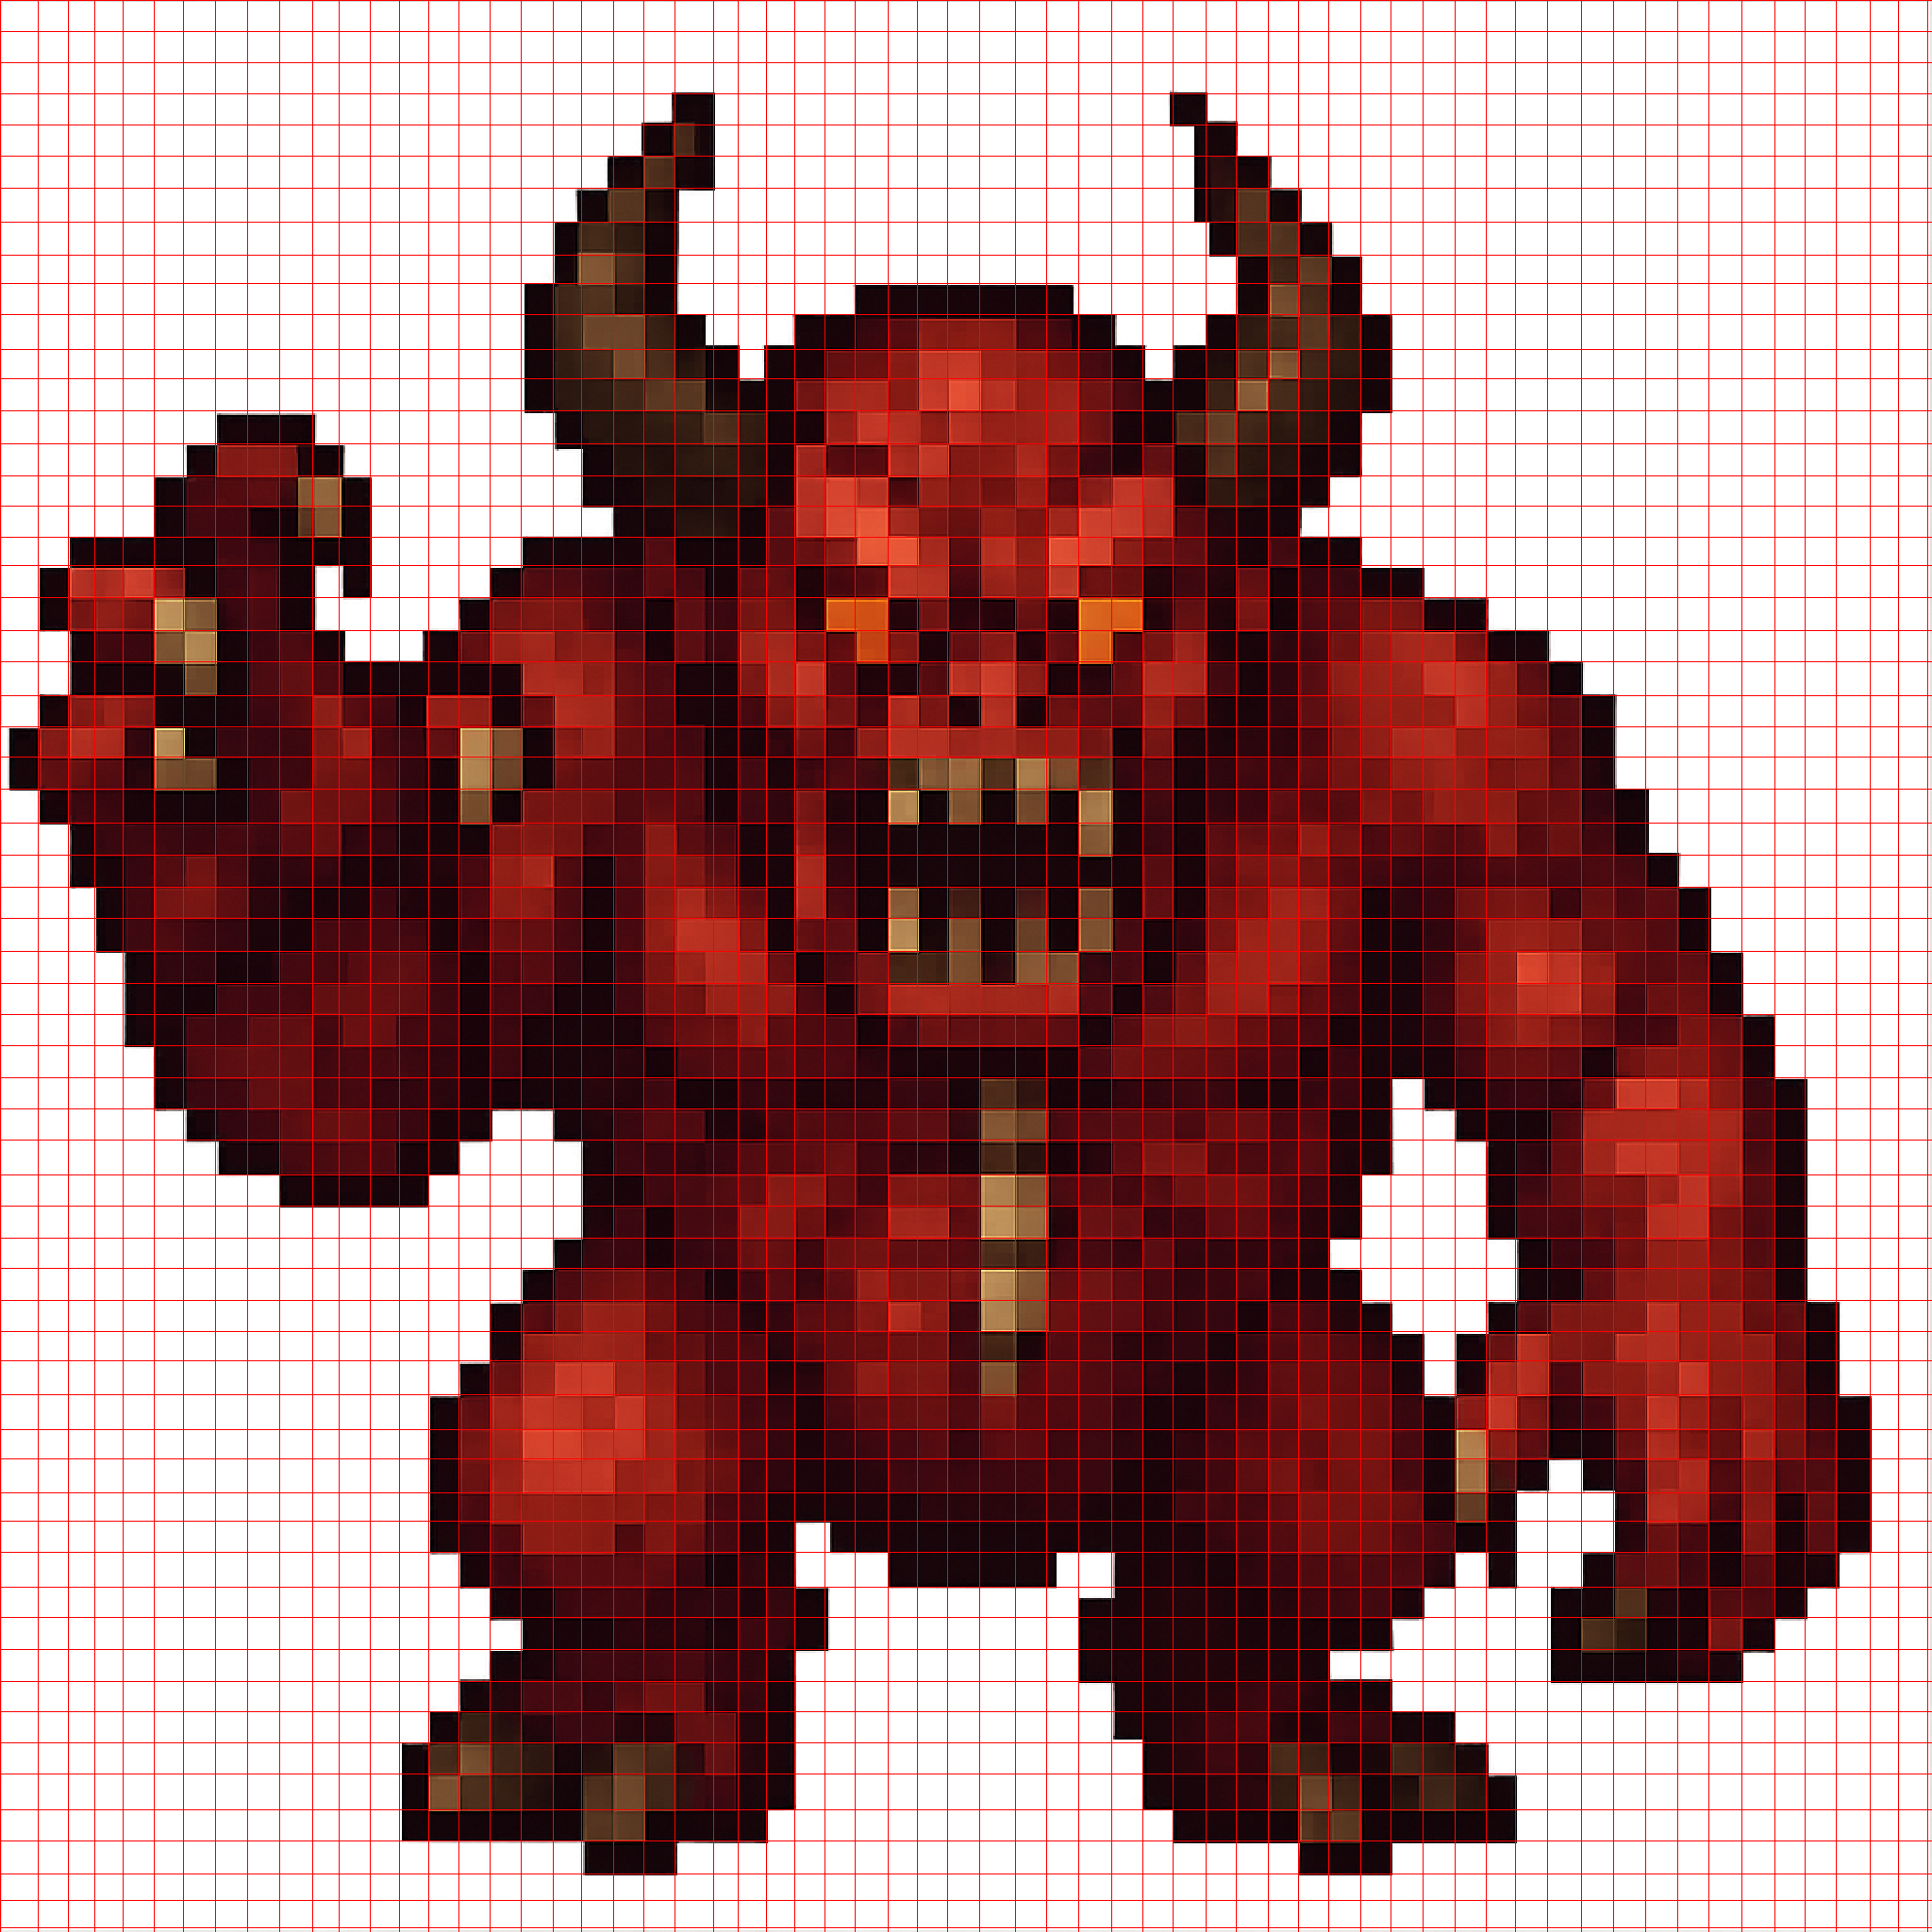
Mesh
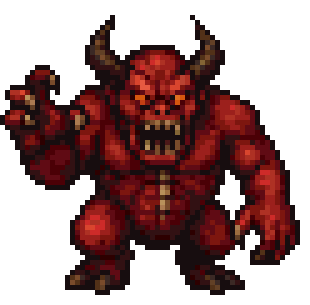
True Pixel Resolution
Pumpkin
-
Screenshot from Google Images of Stardew Valley asset. This is an adversarial example as the source image is both low quality and the object is round.
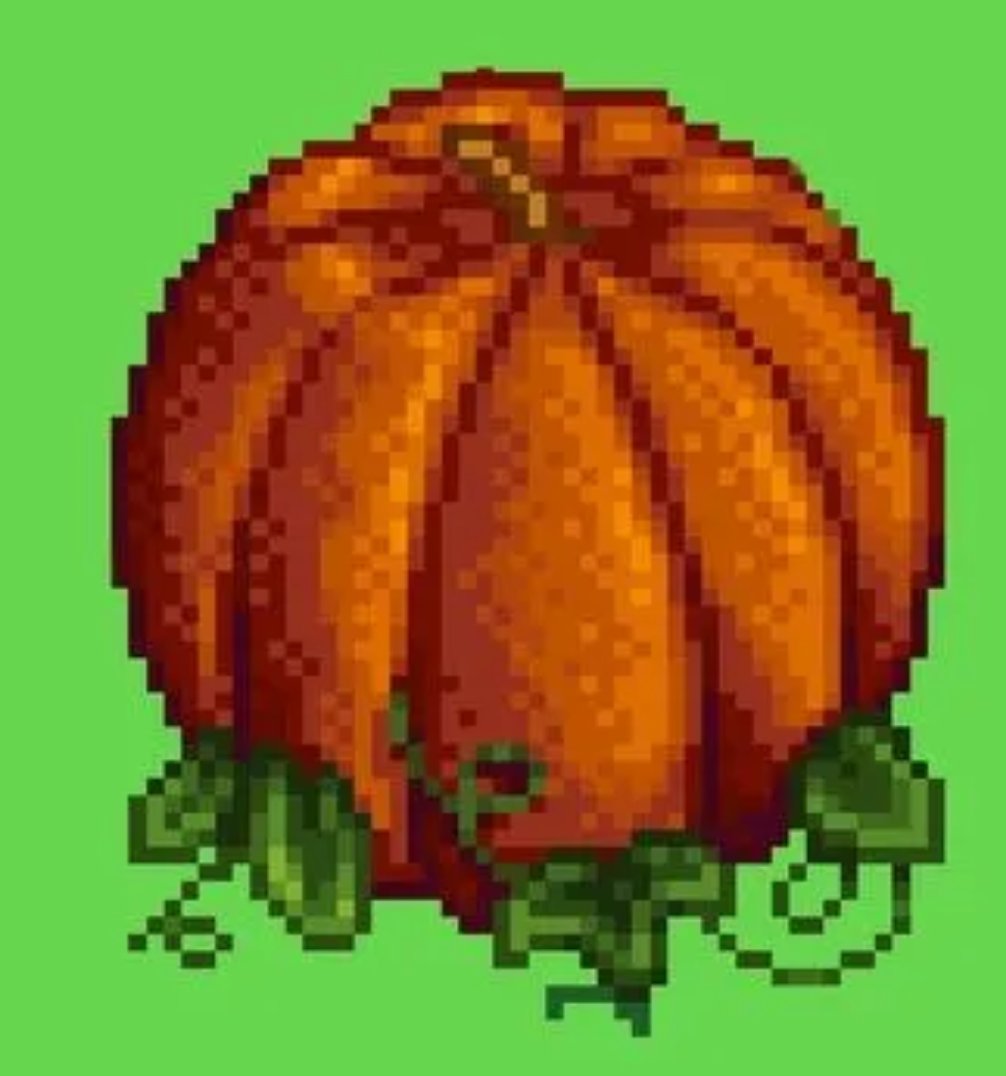
Noisy, High Resolution
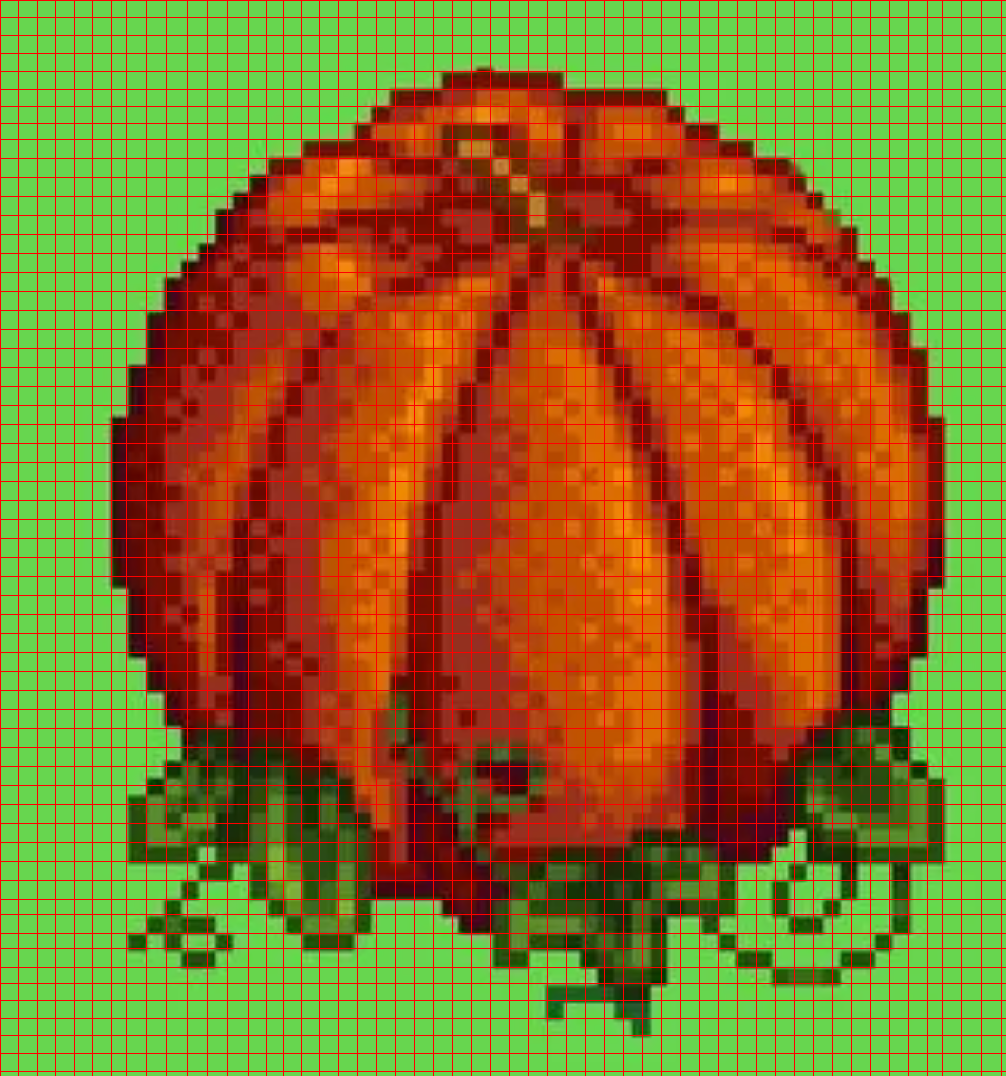
Mesh
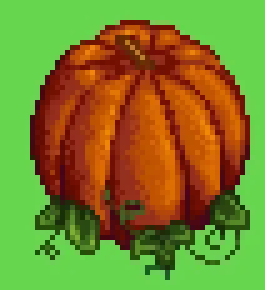
True Pixel Resolution
Installation
Install From PyPI
pip install proper-pixel-art  # CLI and Python API
pip install "proper-pixel-art[web]"  #  Include the local web UI
Or with uv:
uv add proper-pixel-art  # CLI and Python API
uv add proper-pixel-art --extra web  # Include the local web UI
Install from source
git clone git@github.com:KennethJAllen/proper-pixel-art.git
cd proper-pixel-art
uv sync --extra web
Run without installing
uvx can run the tools directly:
uvx --from "proper-pixel-art" ppa   # CLI
uvx --from "proper-pixel-art[web]" ppa web      # Local web UI
Usage
First, obtain a source pixel-art-style image (e.g. from a generative model such as OpenAI's gpt-image-2, or a web upload of pixel art). See scripts/README.md for a helper script that generates source images from a prompt.
The examples below assume you installed via
pip installoruv add(commands are on yourPATH). If you installed from source withuv sync, prefix each command withuv run(e.g.uv run ppa ...).
Web Interface
Try it live in your browser, no install required, on Hugging Face Spaces.
To run the same interface locally:
ppa web
# Opens http://127.0.0.1:7860
CLI
ppa -o -c -s [-t]
Options
| Option | Description |
|---|---|
| INPUT (positional) | Source image, video, or GIF in pixel-art style |
-o, --output `` |
Output directory or file path for result. (default: '.') |
--color-method `` |
Color selection method: dominant preserves the original colors, palette quantizes to a fixed palette. (default: dominant) |
-c, --colors `` |
Palette size (1-256) for the palette method; implies --color-method palette. May need to try a few different values. |
-s, --scale-result `` |
Upscale the result by this factor (each output pixel becomes an NxN block). (default: no scaling) |
-t, --transparent |
Output with transparent background; --no-transparent overrides a config's true. (default: off) |
-u, --initial-upscale `` |
Initial image upscale factor. Increasing this may help detect pixel edges. (default 2) |
-w, --pixel-width `` |
Width of the pixels in the input image. Omit to determine it automatically. (default: auto) |
--config `` |
YAML config file of pixelation parameters. Flags passed explicitly override values in the file. (default: none) |
--intermediate-dir `` |
Directory to save images visualizing intermediate algorithm steps. Useful for development. (default: none) |
-V, --version |
Print the installed version and exit. |
Example
ppa assets/blob/blob.png -c 16 -s 25
Tip:
--colors(-c) is the parameter most likely to need tuning — try a few values if the result looks off.
Videos and GIFs
Video and GIF inputs are recognized by extension, so the same ppa command pixelates animations too (e.g. from video models such as Sora). The result stays consistent frame-to-frame with no flicker — see how the algorithm handles animations for details.
ppa -o -c
The output format follows the output extension (e.g. -o out.mp4 converts a GIF to MP4), and all the pixelation options and --config from the table above apply.
Two extra options apply to video/GIF inputs (they are ignored for images):
| Option | Description |
|---|---|
-f, --format `` |
Output format. (default: gif; a .mp4/.gif output path wins) |
-n, --sample-frames `` |
Frames sampled for mesh and palette detection. (default: 8) |
GIF input is decoded with full frame compositing (variable-size delta frames, per-frame durations, and transparency are preserved). GIF output uses a single global palette.
MP4 output is encoded near-losslessly (libx264 at CRF 1) via PyAV, whose wheels bundle the FFmpeg libraries — so quality doesn't depend on what's installed on your machine. Note for anyone redistributing a bundled app: PyAV's wheels ship a GPL build of FFmpeg.
Python API
For Python developers who want to integrate this tool into their own code.
from PIL import Image
from proper_pixel_art import PixelateConfig, pixelate

config = PixelateConfig.from_dict(
    {"colors": {"method": "palette", "palette": {"num_colors": 16}}}
)
result = pixelate(Image.open("path/to/input.png"), config=config)
result.image.save("path/to/output.png")
Videos and GIFs have their own entry point:
from proper_pixel_art import pixelate_video

pixelate_video("input.mp4", "output.gif", config=config)
Parameters
All tuning lives in the config object (see Configuration file); build one with PixelateConfig(...), PixelateConfig.from_dict(...), or PixelateConfig.from_yaml(path), or omit it for the defaults.
image/input_path— the PIL image (pixelate) or video/GIF path (pixelate_video) to pixelate.config:PixelateConfig | None— a bundle of every tunable parameter.intermediate_dir:Path | None— directory to save images visualizing intermediate algorithm steps.output_path(pixelate_videoonly) — output file or directory; its.mp4/.gifsuffix selects the format, otherwiseconfig.video.output_formatapplies.
Returns
pixelate returns a PixelateResult with:
image— the true-resolution PIL image.mesh— the detected(lines_x, lines_y)pixel-grid coordinates.pixel_width— the input-image pixel width used (detected or configured).upscale_factor— the internal upscale factormesh/pixel_widthare expressed in; divide by it for original-image coordinates.
pixelate_video returns the output file Path.
Configuration file
All tunable parameters can be collected in a YAML file so you can fine-tune the algorithm without changing code — including the deeper mesh-detection (Canny, Hough, line clustering) and color settings (the colors.method quantization-method selector with its palette and dominant sub-sections, plus alpha/transparency thresholds) not exposed as CLI flags or direct arguments. See config.example.yaml for the full list of keys with their defaults. Any key you omit falls back to the default, so partial files are fine.
from PIL import Image
from proper_pixel_art import PixelateConfig, pixelate

config = PixelateConfig.from_yaml("config.yaml")
result = pixelate(Image.open("input.png"), config=config)
result.image.save("output.png")
From the CLI, pass --config. Flags given explicitly override values from the file:
ppa input.png --config config.yaml      # use the file
ppa input.png --config config.yaml -c 8 # but override to an 8-color palette
Configs written for releases before 2.0.0 may need key renames — see
CHANGELOG.md for the full migration list.
Real Images To Pixel Art
This tool can also be used to convert real images to pixel art: first request a pixelated version of the original image from GPT-4o, then use the tool to get the true pixel-resolution image. The mountain at the top of this README was made this way, starting from this photo:
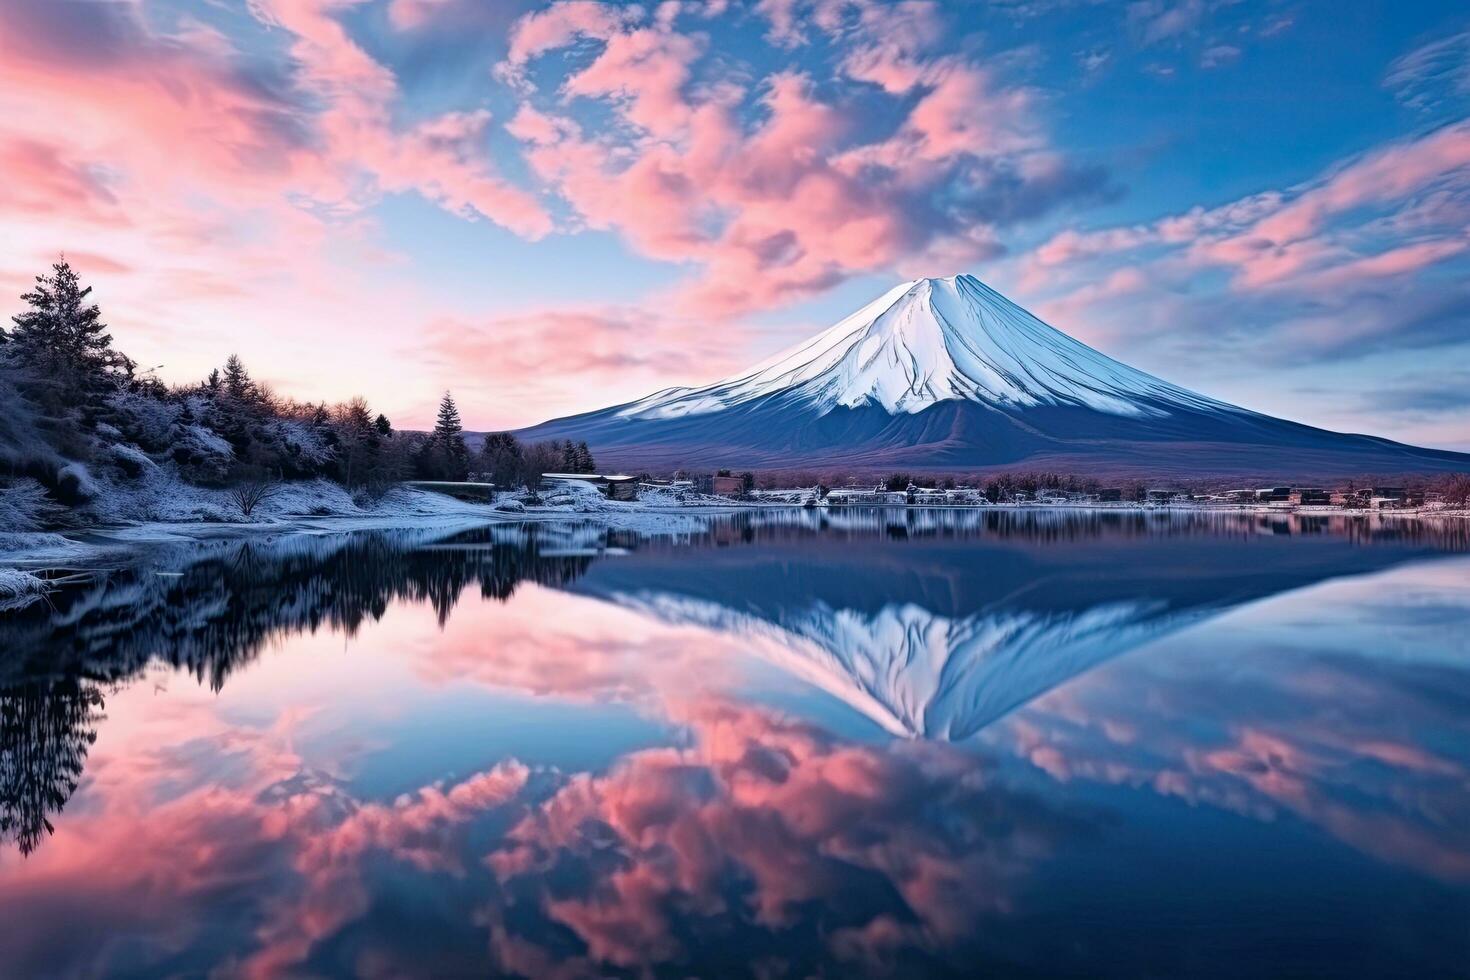
Original photo
→

True-resolution pixel art
Algorithm
Here's a step-by-step overview, applied to this GPT-4o-generated blob:

- Note that this image is high resolution and noisy.

-
Trim the edges of the image and replace mostly-transparent pixels (alpha below 50%) with a background color.
- This is to work around some issues with models such as GPT-4o not giving a perfectly transparent background.
-
Upscale by a factor of 2 using nearest neighbor.
- This can help identify the correct pixel mesh.
-
Find edges of the pixel art using Canny edge detection.

- Close small gaps in edges with a morphological closing.

- Take the probabilistic Hough transform to get the coordinates of lines in the detected edges. Only keep lines that are close to vertical or horizontal giving some grid coordinates. Cluster lines that are closeby together, then snap each detected line to the nearest peak of a gradient projection profile (the image's gradient magnitude summed along each axis, which peaks at pixel boundaries).

- Estimate the grid spacing per axis from the median gap between detected lines when there are enough of them, otherwise from the spacing of profile peaks or the autocorrelation period of the profile and reconcile the two axes into one pixel width (pixels are assumed square; a wildly larger axis is distrusted). The estimate is then validated by reconstruction error: candidate widths are scored by the within-cell color variance of their meshes, and the estimate is replaced only when another estimator's width scores decisively better (this catches e.g. locking on to twice the true pixel width). Finally, complete the mesh by evenly subdividing the gaps between detected lines, snapping each interpolated line to a nearby profile peak.

-
Process the colors with one of two methods, selected by
colors.method(--color-method):palettequantizes the original image to a small number of colors (see the--colorstuning note above), whiledominant(the default) preserves the original colors. -
In each cell specified by the mesh, choose a representative color for the pixel: the most common quantized color (palette method) or the dominant color by offset binning (dominant method). Recreate the original image with one pixel per cell. With the dominant method, near-duplicate output colors are then merged (agglomerative clustering with a distance cutoff) so flat areas collapse to a single color.
- Result upscaled by a factor of $20 \times$ using nearest neighbor.

Videos and GIFs
The same algorithm generalizes to animations by exploiting the fact that every frame shares one underlying pixel grid and palette. Rather than solving frames independently (which would make the mesh and colors jitter frame-to-frame), the mesh-detection steps (1–6) and color quantization (step 7) are run once over a sample of frames to fix a single grid and shared palette. That grid and palette are then applied to snap every frame (step 8), so the whole animation resolves to consistent, true pixel resolution.