Intro


Real-time object detection and classification. Paper: version 1, version 2.
Read more about YOLO (in darknet) and download weight files here. In case the weight file cannot be found, I uploaded some of mine here, which include yolo-full and yolo-tiny of v1.0, tiny-yolo-v1.1 of v1.1 and yolo, tiny-yolo-voc of v2.
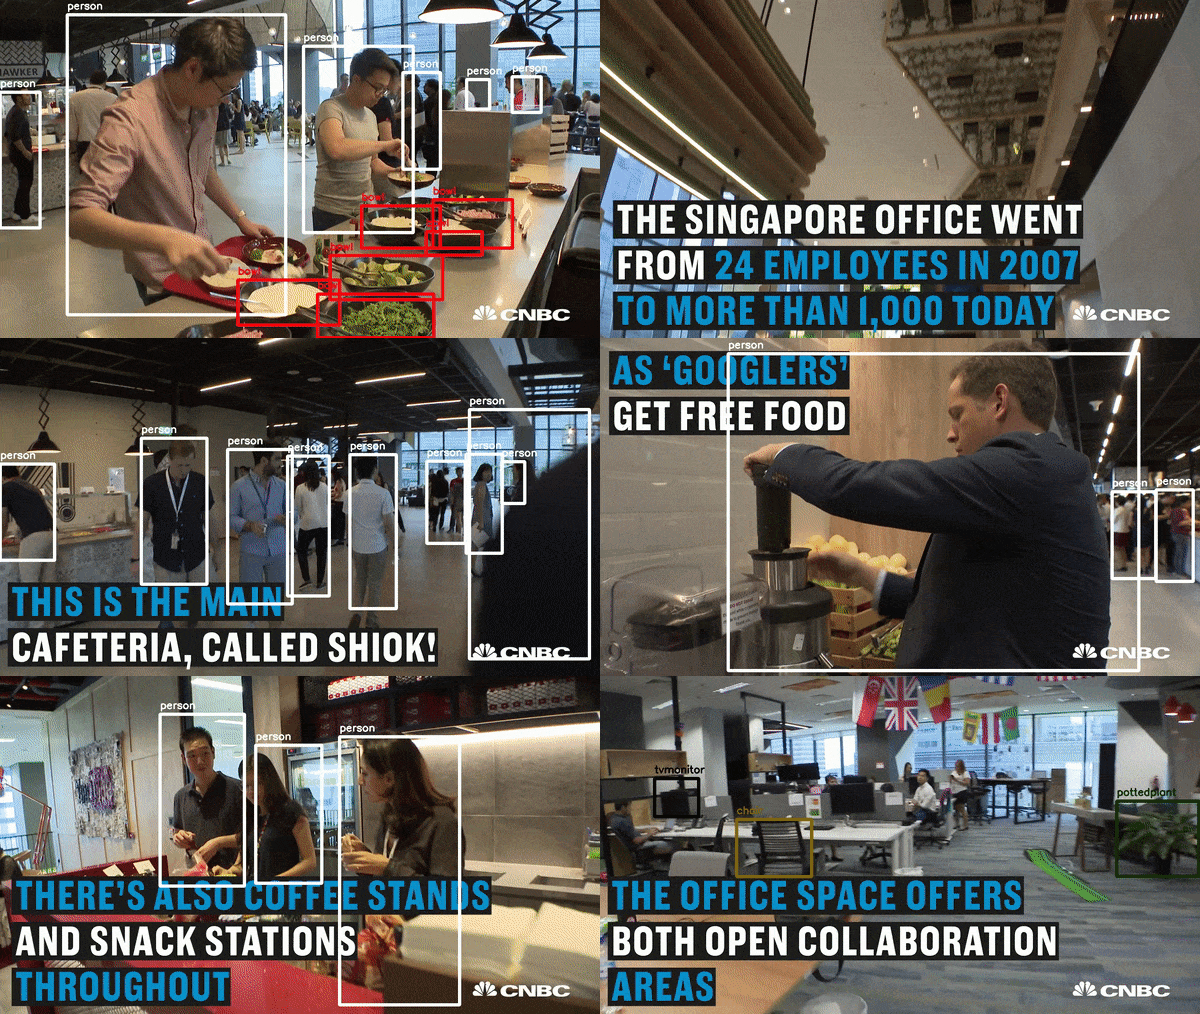
See demo below or see on this imgur
Dependencies
Python3, tensorflow 1.0, numpy, opencv 3.
Citation
@article{trieu2018darkflow,
  title={Darkflow},
  author={Trieu, Trinh Hoang},
  journal={GitHub Repository. Available online: https://github. com/thtrieu/darkflow (accessed on 14 February 2019)},
  year={2018}
}
Getting started
You can choose one of the following three ways to get started with darkflow.
-
Just build the Cython extensions in place. NOTE: If installing this way you will have to use
./flowin the cloned darkflow directory instead offlowas darkflow is not installed globally.python3 setup.py build_ext --inplace -
Let pip install darkflow globally in dev mode (still globally accessible, but changes to the code immediately take effect)
pip install -e . -
Install with pip globally
pip install .
Update
Android demo on Tensorflow's here
I am looking for help:
help wantedlabels in issue track
Parsing the annotations
Skip this if you are not training or fine-tuning anything (you simply want to forward flow a trained net)
For example, if you want to work with only 3 classes tvmonitor, person, pottedplant; edit labels.txt as follows
tvmonitor
person
pottedplant
And that's it. darkflow will take care of the rest. You can also set darkflow to load from a custom labels file with the --labels flag (i.e. --labels myOtherLabelsFile.txt). This can be helpful when working with multiple models with different sets of output labels. When this flag is not set, darkflow will load from labels.txt by default (unless you are using one of the recognized .cfg files designed for the COCO or VOC dataset - then the labels file will be ignored and the COCO or VOC labels will be loaded).
Design the net
Skip this if you are working with one of the original configurations since they are already there. Otherwise, see the following example:
...

[convolutional]
batch_normalize = 1
size = 3
stride = 1
pad = 1
activation = leaky

[maxpool]

[connected]
output = 4096
activation = linear

...
Flowing the graph using flow
# Have a look at its options
flow --h
First, let's take a closer look at one of a very useful option --load
# 1. Load tiny-yolo.weights
flow --model cfg/tiny-yolo.cfg --load bin/tiny-yolo.weights

# 2. To completely initialize a model, leave the --load option
flow --model cfg/yolo-new.cfg

# 3. It is useful to reuse the first identical layers of tiny for `yolo-new`
flow --model cfg/yolo-new.cfg --load bin/tiny-yolo.weights
# this will print out which layers are reused, which are initialized
All input images from default folder sample_img/ are flowed through the net and predictions are put in sample_img/out/. We can always specify more parameters for such forward passes, such as detection threshold, batch size, images folder, etc.
# Forward all images in sample_img/ using tiny yolo and 100% GPU usage
flow --imgdir sample_img/ --model cfg/tiny-yolo.cfg --load bin/tiny-yolo.weights --gpu 1.0
json output can be generated with descriptions of the pixel location of each bounding box and the pixel location. Each prediction is stored in the sample_img/out folder by default. An example json array is shown below.
# Forward all images in sample_img/ using tiny yolo and JSON output.
flow --imgdir sample_img/ --model cfg/tiny-yolo.cfg --load bin/tiny-yolo.weights --json
JSON output:
[{"label":"person", "confidence": 0.56, "topleft": {"x": 184, "y": 101}, "bottomright": {"x": 274, "y": 382}},
{"label": "dog", "confidence": 0.32, "topleft": {"x": 71, "y": 263}, "bottomright": {"x": 193, "y": 353}},
{"label": "horse", "confidence": 0.76, "topleft": {"x": 412, "y": 109}, "bottomright": {"x": 592,"y": 337}}]
- label: self explanatory
- confidence: somewhere between 0 and 1 (how confident yolo is about that detection)
- topleft: pixel coordinate of top left corner of box.
- bottomright: pixel coordinate of bottom right corner of box.
Training new model
Training is simple as you only have to add option --train. Training set and annotation will be parsed if this is the first time a new configuration is trained. To point to training set and annotations, use option --dataset and --annotation. A few examples:
# Initialize yolo-new from yolo-tiny, then train the net on 100% GPU:
flow --model cfg/yolo-new.cfg --load bin/tiny-yolo.weights --train --gpu 1.0

# Completely initialize yolo-new and train it with ADAM optimizer
flow --model cfg/yolo-new.cfg --train --trainer adam
During training, the script will occasionally save intermediate results into Tensorflow checkpoints, stored in ckpt/. To resume to any checkpoint before performing training/testing, use --load [checkpoint_num] option, if checkpoint_num < 0, darkflow will load the most recent save by parsing ckpt/checkpoint.
# Resume the most recent checkpoint for training
flow --train --model cfg/yolo-new.cfg --load -1

# Test with checkpoint at step 1500
flow --model cfg/yolo-new.cfg --load 1500

# Fine tuning yolo-tiny from the original one
flow --train --model cfg/tiny-yolo.cfg --load bin/tiny-yolo.weights
Example of training on Pascal VOC 2007:
# Download the Pascal VOC dataset:
curl -O https://pjreddie.com/media/files/VOCtest_06-Nov-2007.tar
tar xf VOCtest_06-Nov-2007.tar

# An example of the Pascal VOC annotation format:
vim VOCdevkit/VOC2007/Annotations/000001.xml

# Train the net on the Pascal dataset:
flow --model cfg/yolo-new.cfg --train --dataset "~/VOCdevkit/VOC2007/JPEGImages" --annotation "~/VOCdevkit/VOC2007/Annotations"
Training on your own dataset
The steps below assume we want to use tiny YOLO and our dataset has 3 classes
-
Create a copy of the configuration file
tiny-yolo-voc.cfgand rename it according to your preferencetiny-yolo-voc-3c.cfg(It is crucial that you leave the originaltiny-yolo-voc.cfgfile unchanged, see below for explanation). -
In
tiny-yolo-voc-3c.cfg, change classes in the [region] layer (the last layer) to the number of classes you are going to train for. In our case, classes are set to 3.... [region] anchors = 1.08,1.19, 3.42,4.41, 6.63,11.38, 9.42,5.11, 16.62,10.52 bias_match=1 classes=3 coords=4 num=5 softmax=1 ... -
In
tiny-yolo-voc-3c.cfg, change filters in the [convolutional] layer (the second to last layer) to num * (classes + 5). In our case, num is 5 and classes are 3 so 5 * (3 + 5) = 40 therefore filters are set to 40.... [convolutional] size=1 stride=1 pad=1 filters=40 activation=linear [region] anchors = 1.08,1.19, 3.42,4.41, 6.63,11.38, 9.42,5.11, 16.62,10.52 ... -
Change
labels.txtto include the label(s) you want to train on (number of labels should be the same as the number of classes you set intiny-yolo-voc-3c.cfgfile). In our case,labels.txtwill contain 3 labels.label1 label2 label3 -
Reference the
tiny-yolo-voc-3c.cfgmodel when you train.flow --model cfg/tiny-yolo-voc-3c.cfg --load bin/tiny-yolo-voc.weights --train --annotation train/Annotations --dataset train/Images
-
Why should I leave the original
tiny-yolo-voc.cfgfile unchanged?When darkflow sees you are loading
tiny-yolo-voc.weightsit will look fortiny-yolo-voc.cfgin your cfg/ folder and compare that configuration file to the new one you have set with--model cfg/tiny-yolo-voc-3c.cfg. In this case, every layer will have the same exact number of weights except for the last two, so it will load the weights into all layers up to the last two because they now contain different number of weights.
Camera/video file demo
For a demo that entirely runs on the CPU:
flow --model cfg/yolo-new.cfg --load bin/yolo-new.weights --demo videofile.avi
For a demo that runs 100% on the GPU:
flow --model cfg/yolo-new.cfg --load bin/yolo-new.weights --demo videofile.avi --gpu 1.0
To use your webcam/camera, simply replace videofile.avi with keyword camera.
To save a video with predicted bounding box, add --saveVideo option.
Using darkflow from another python application
Please note that return_predict(img) must take an numpy.ndarray. Your image must be loaded beforehand and passed to return_predict(img). Passing the file path won't work.
Result from return_predict(img) will be a list of dictionaries representing each detected object's values in the same format as the JSON output listed above.
from darkflow.net.build import TFNet
import cv2

options = {"model": "cfg/yolo.cfg", "load": "bin/yolo.weights", "threshold": 0.1}

tfnet = TFNet(options)

imgcv = cv2.imread("./sample_img/sample_dog.jpg")
result = tfnet.return_predict(imgcv)
print(result)
Save the built graph to a protobuf file (.pb)
## Saving the lastest checkpoint to protobuf file
flow --model cfg/yolo-new.cfg --load -1 --savepb

## Saving graph and weights to protobuf file
flow --model cfg/yolo.cfg --load bin/yolo.weights --savepb
When saving the .pb file, a .meta file will also be generated alongside it. This .meta file is a JSON dump of everything in the meta dictionary that contains information nessecary for post-processing such as anchors and labels. This way, everything you need to make predictions from the graph and do post processing is contained in those two files - no need to have the .cfg or any labels file tagging along.
The created .pb file can be used to migrate the graph to mobile devices (JAVA / C++ / Objective-C++). The name of input tensor and output tensor are respectively 'input' and 'output'. For further usage of this protobuf file, please refer to the official documentation of Tensorflow on C++ API here. To run it on, say, iOS application, simply add the file to Bundle Resources and update the path to this file inside source code.
Also, darkflow supports loading from a .pb and .meta file for generating predictions (instead of loading from a .cfg and checkpoint or .weights).
## Forward images in sample_img for predictions based on protobuf file
flow --pbLoad built_graph/yolo.pb --metaLoad built_graph/yolo.meta --imgdir sample_img/
If you'd like to load a .pb and .meta file when using return_predict() you can set the "pbLoad" and "metaLoad" options in place of the "model" and "load" options you would normally set.
That's all.